Create an Ubuntu 20.04 Server VM in Proxmox
Learn how to create an Ubuntu 20.04 server virtual machine (VM) step-by-step on Proxmox VE. This beginner-friendly guide covers everything from uploading your ISO file to configuring networking and installing the Qemu Guest Agent.


Introduction
Proxmox Virtual Environment (VE) is a popular open-source platform for managing virtual machines and containers. If you're setting up a lab, running tests, or deploying services, creating a virtual machine (VM) is a great place to start. This guide will walk you through creating an Ubuntu 20.04 server VM in Proxmox VE. By the end, you'll have a fully functional VM with networking and key configurations ready for use.
Prerequisites
Before getting started, make sure you have the following:
- A running Proxmox VE installation.
- Access to the Proxmox web interface.
- An Ubuntu 20.04 ISO file (download it from the Ubuntu website).
- Sufficient resources on your Proxmox host for the VM (e.g., RAM, CPU, and storage).
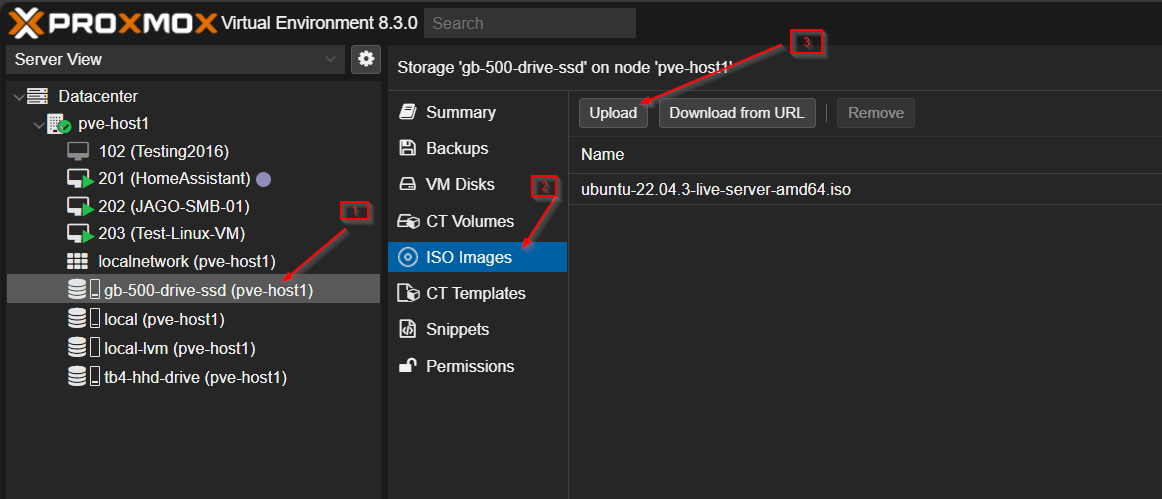
Uploading the ISO
To install Ubuntu on a VM, you first need to upload the ISO file to Proxmox:
- Log in to your Proxmox web interface.
- Go to Datacenter > Your Node > Local (Storage).
- Click the Content tab, then select Upload.
- Browse for your Ubuntu ISO file and upload it. Once complete, it will appear in the list under "ISO Images."
Follow the same procedure to upload any other ISO's you might have.
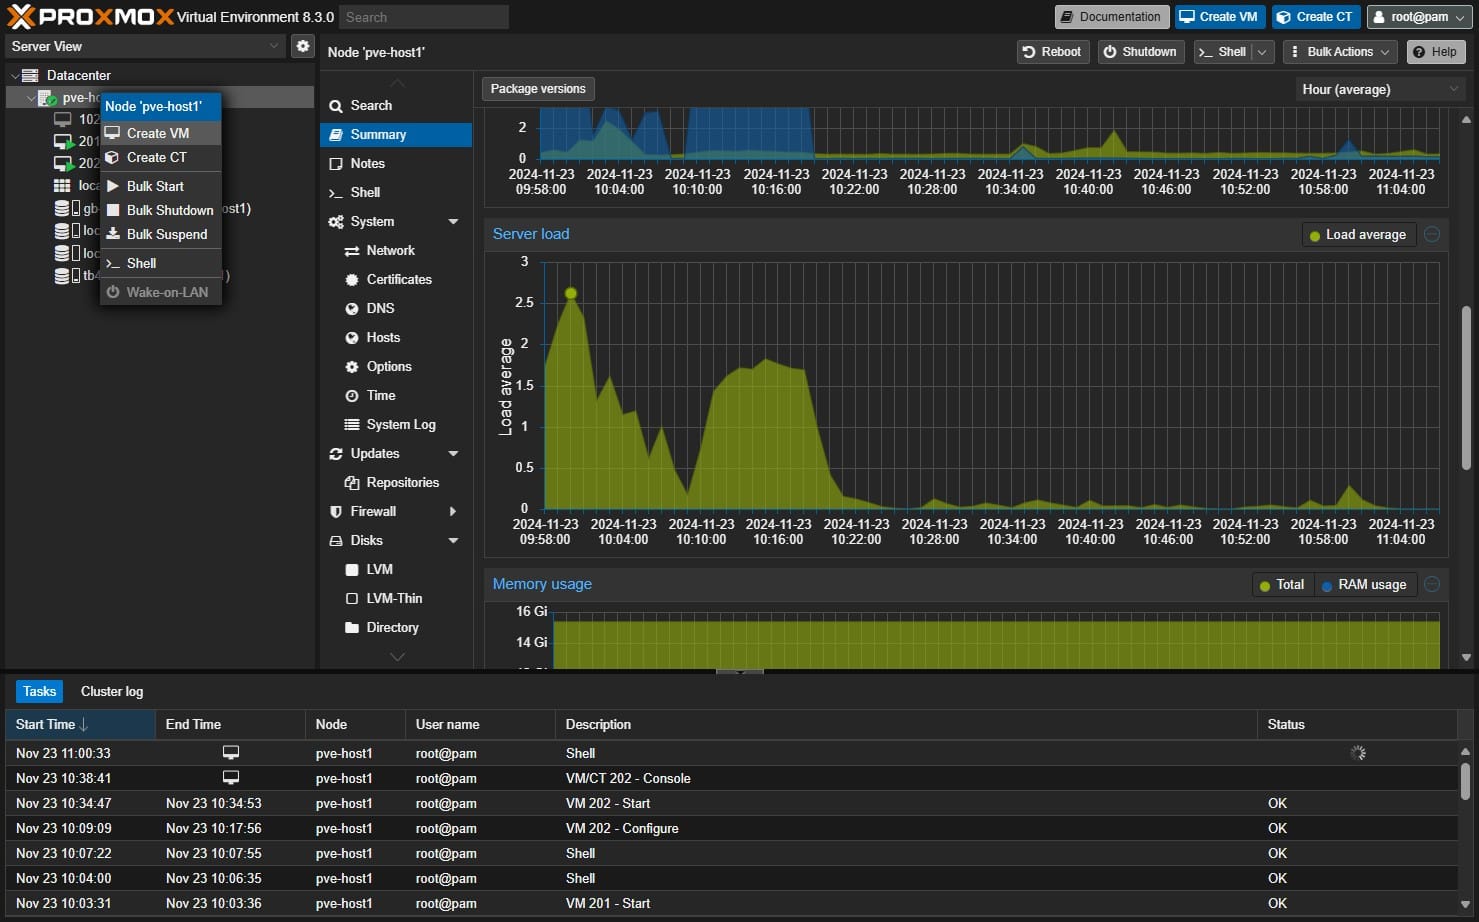
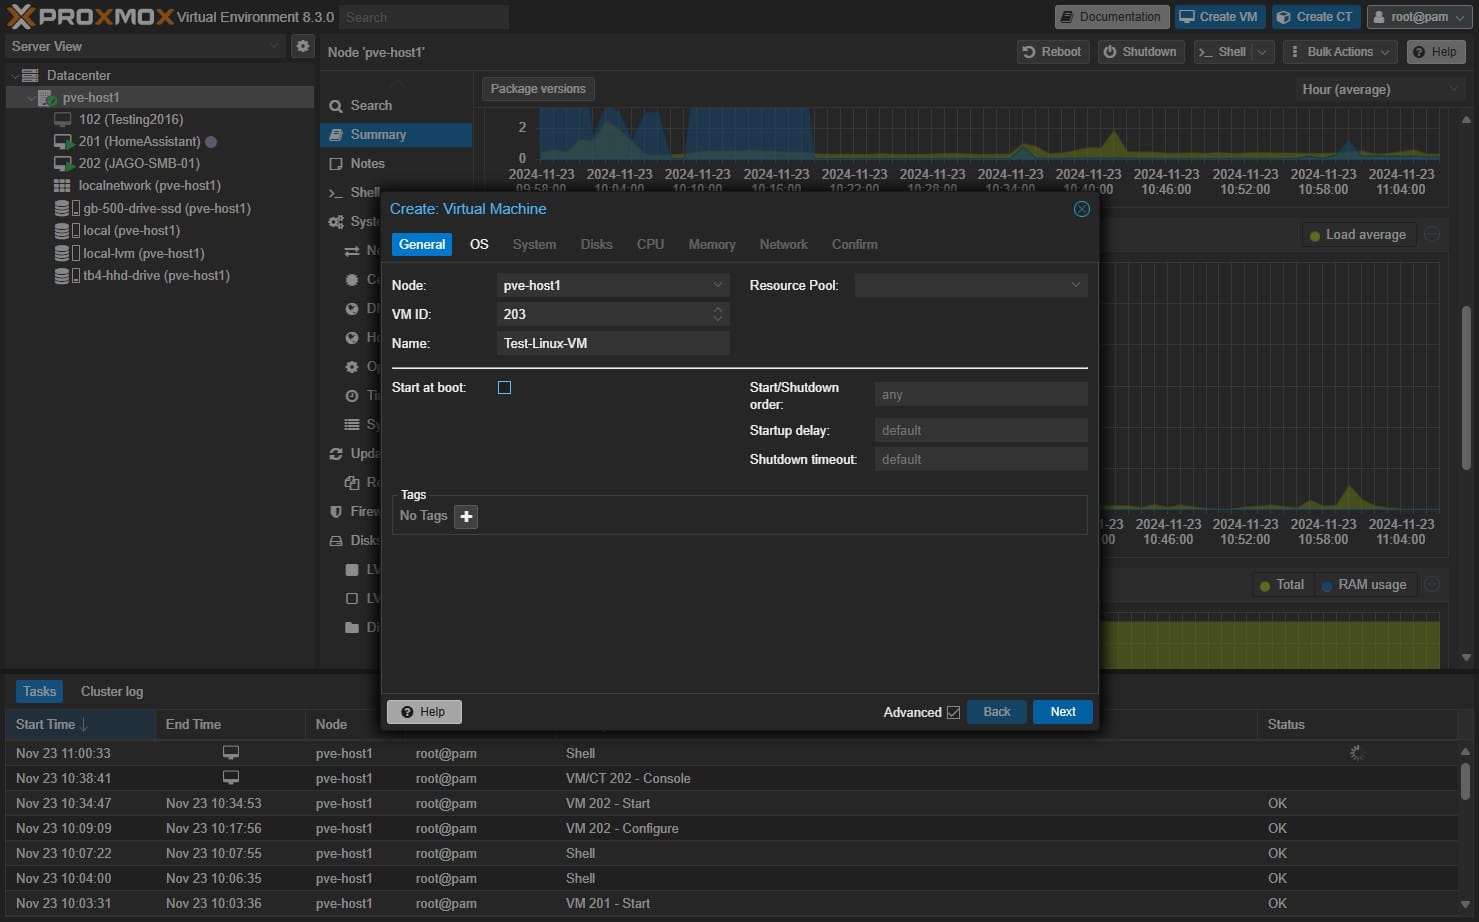
Create a Virtual Machine
With the ISO uploaded, follow these steps to create your VM:
- Right-click your node in the Proxmox web interface and select Create VM.
2, General Settings:
- Enter a name for your VM, such as "Ubuntu-Server-20.04."
- Choose an ID (Proxmox assigns one by default), I like to create a numbering system for my VM,
100's are Windows Vms
200's are Linux OS
300's for Containers
400's for templates
900, Networking, for example, firewalls
Check the box to start at boot if needed.
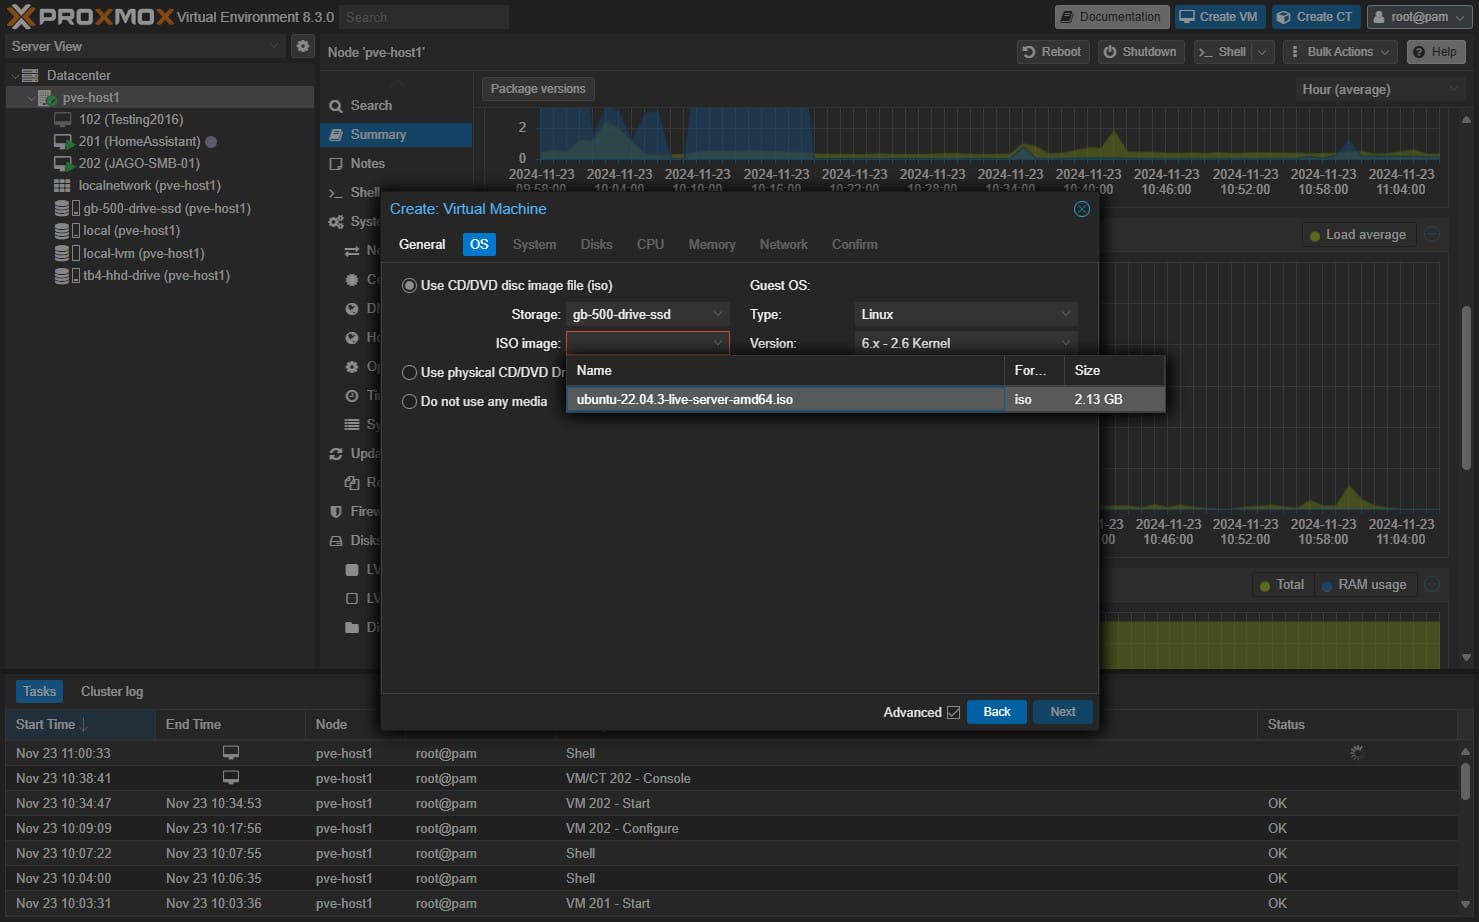
- OS Settings:
- Select the ISO image you uploaded earlier.
- Select the ISO image you uploaded earlier.
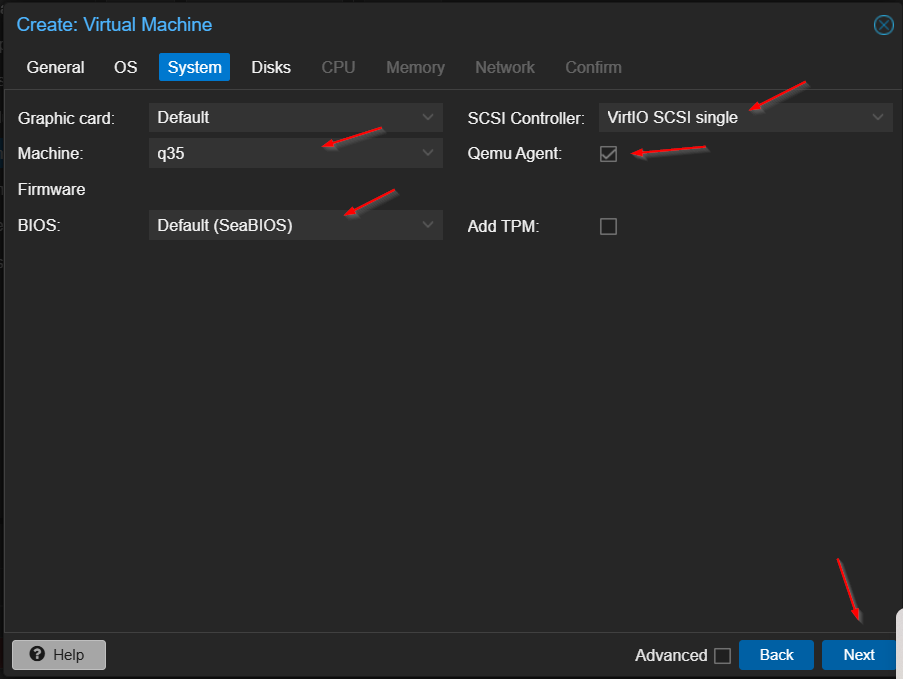
- System Configuration:
- Select q35 as the Machine
- Leave the BIOS as is
- Enable the Qemu Guest Agent for better integration.
- Choose the SCSI controller as the " VirtIO SCSI single" type for storage.
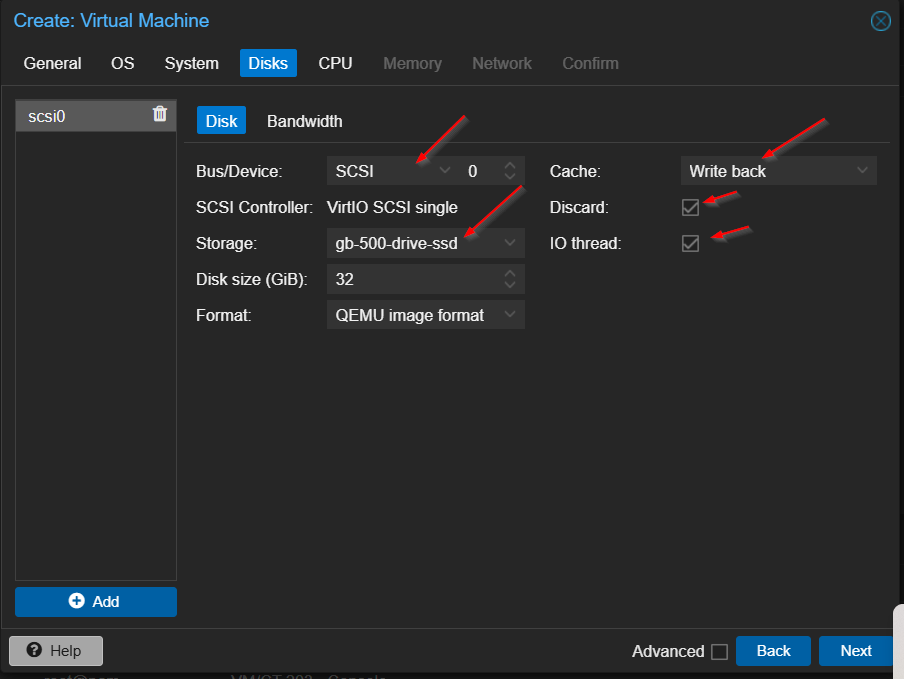
- Hard Disk:
- Select SCSI as the Bus/Device
- Define the size and storage location. For testing, 32GB should suffice.
- On Chace, select "Write Back," tick Discard, and IO thread if your storage is an SSD; leave them as default if you are using an HHD.
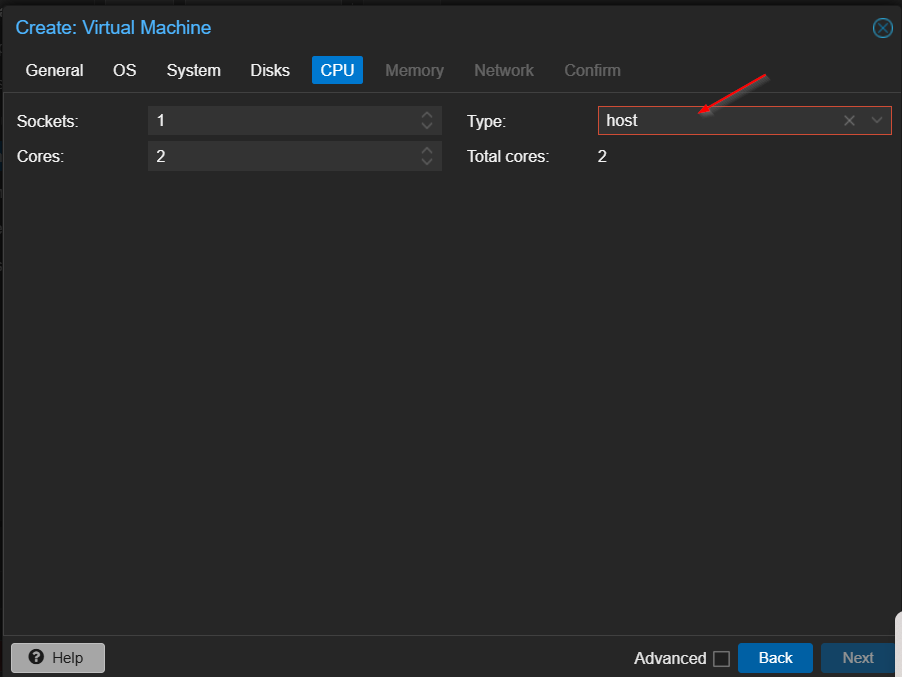
- CPU
1. Select the number of Sockets and CPU you want to give to the VM and then select Type and type in Host. Proxmox will use passthrough and use the full set of features on our CPU.
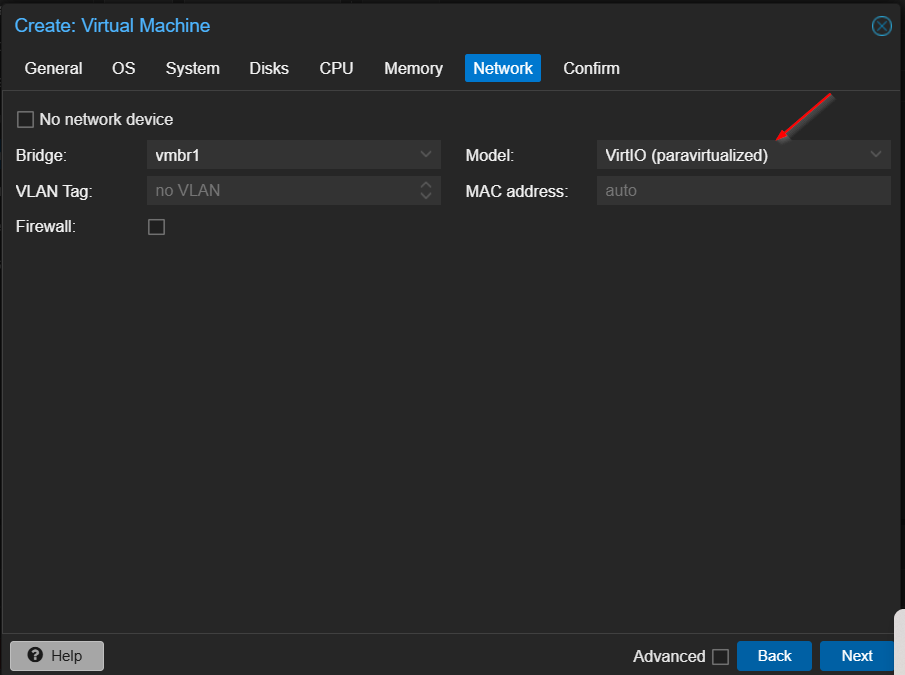
- Network:
- Select your Network Bridge; depending on your initial set up there may be more than one.
- Choose VirtIO(paravirtualised)for efficient network performance.
Click next and Finish to complete the set up.
Install the Operating System on your VM
Now that the VM is ready, it’s time to install Ubuntu:
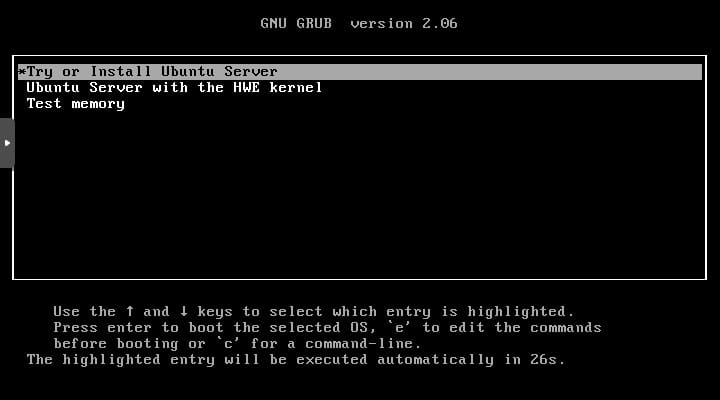
- Start the VM and open its console in Proxmox.

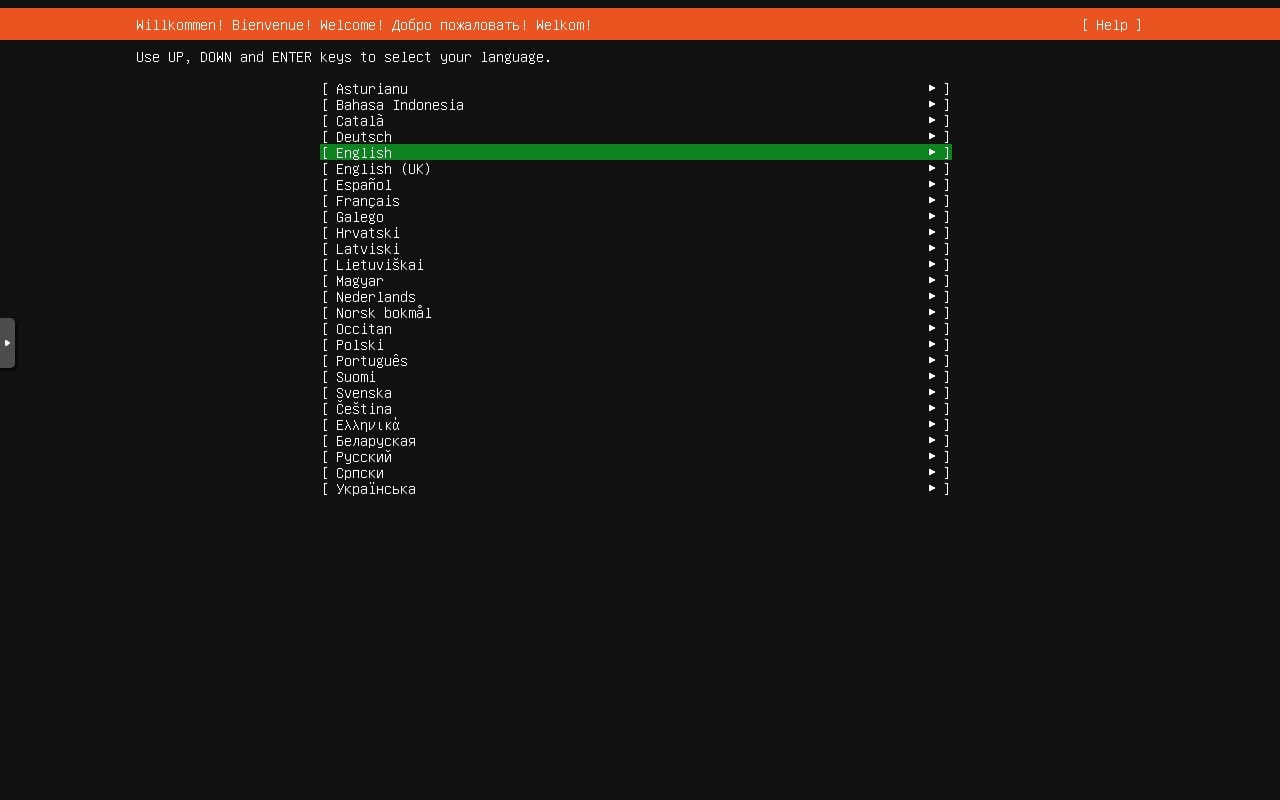
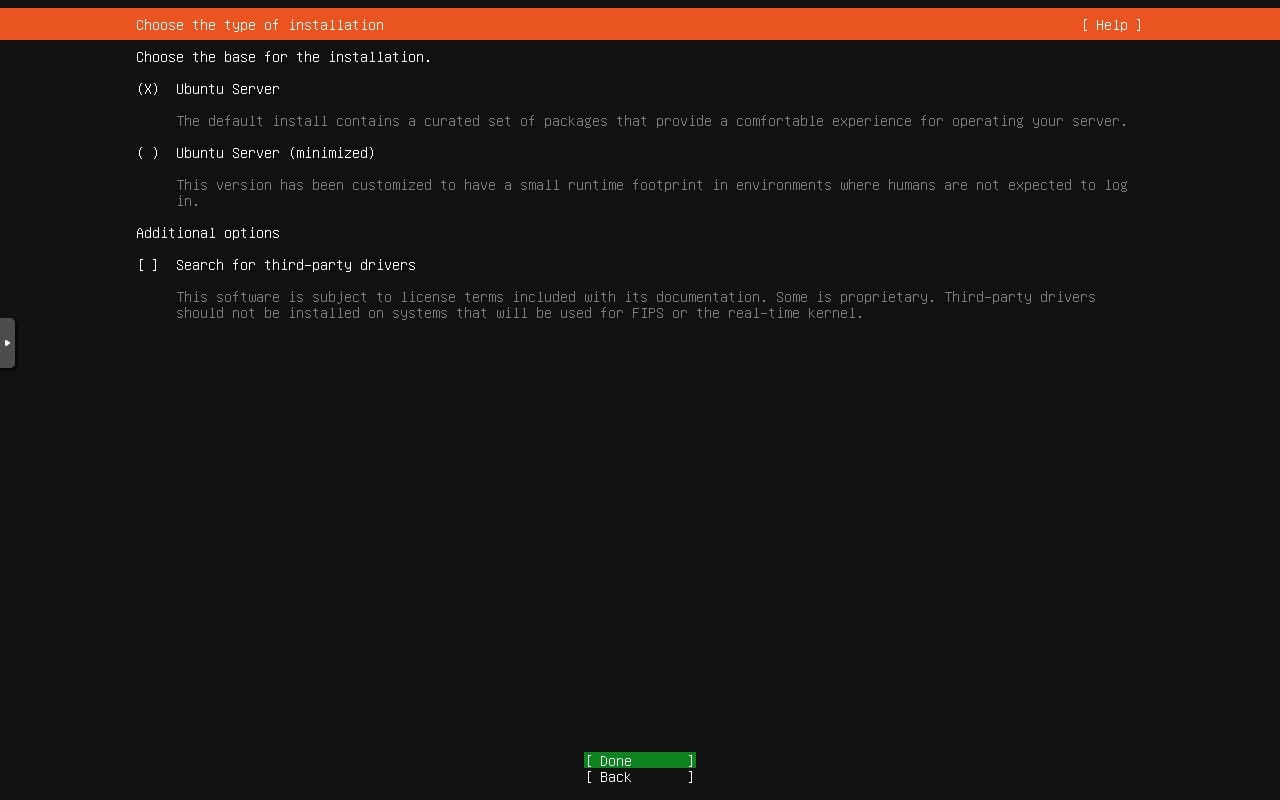
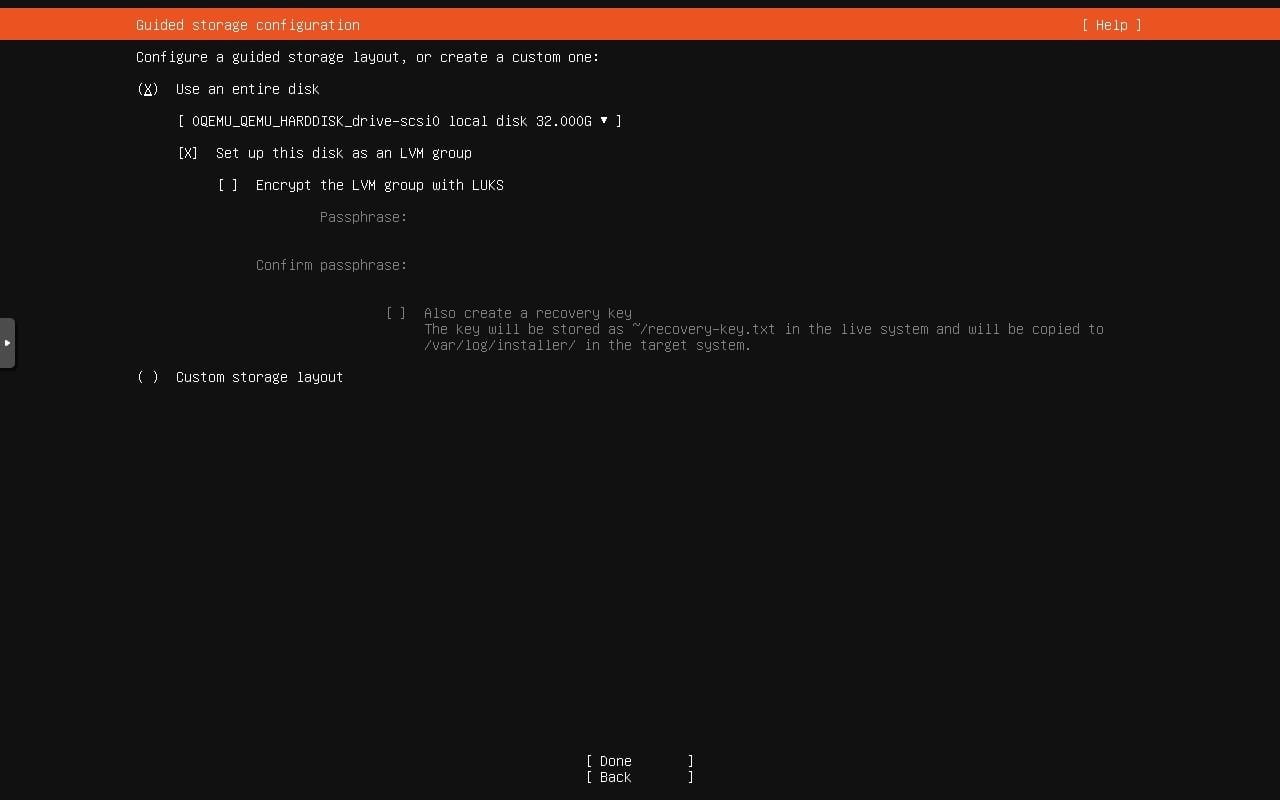
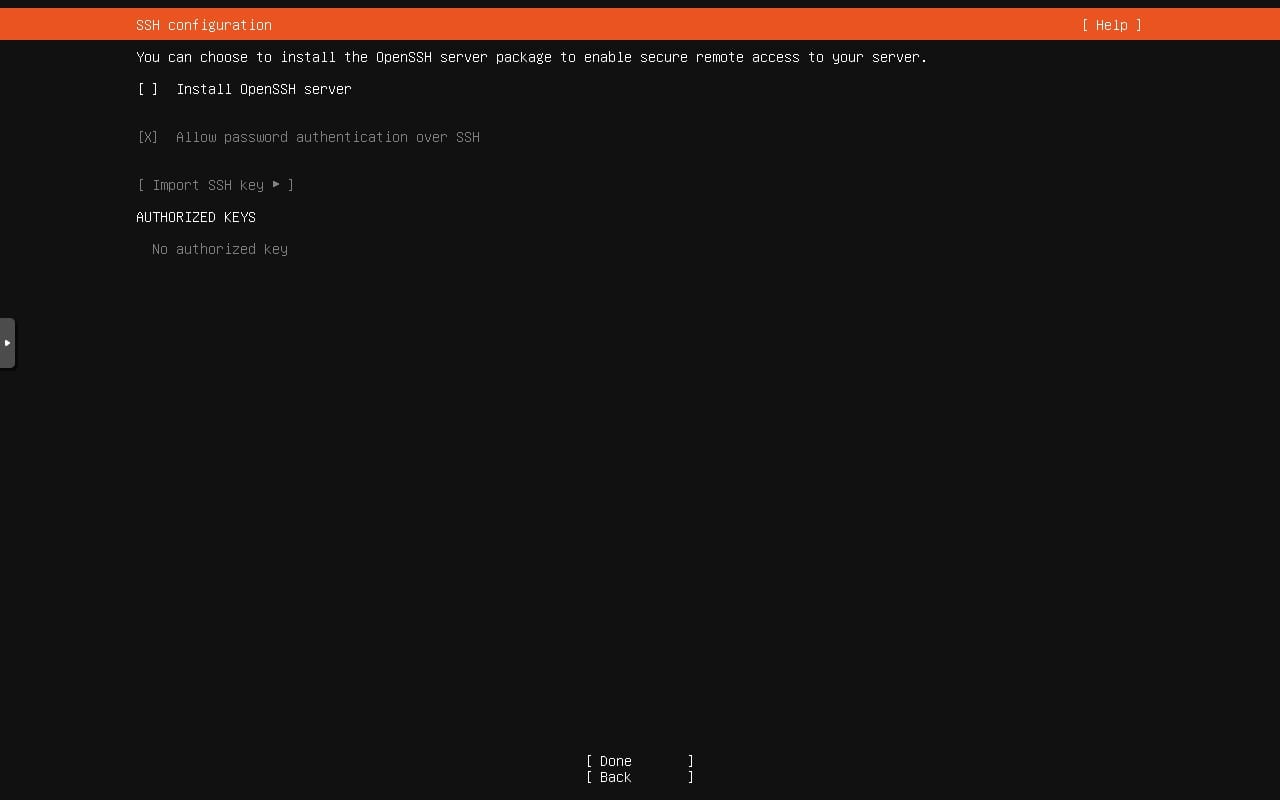
- When you are connected to the VM console, Follow the Ubuntu installation wizard:
- Select your language, keyboard layout, and time zone.
- Configure network settings or leave them as default if using DHCP.
- Set up a user account and password.
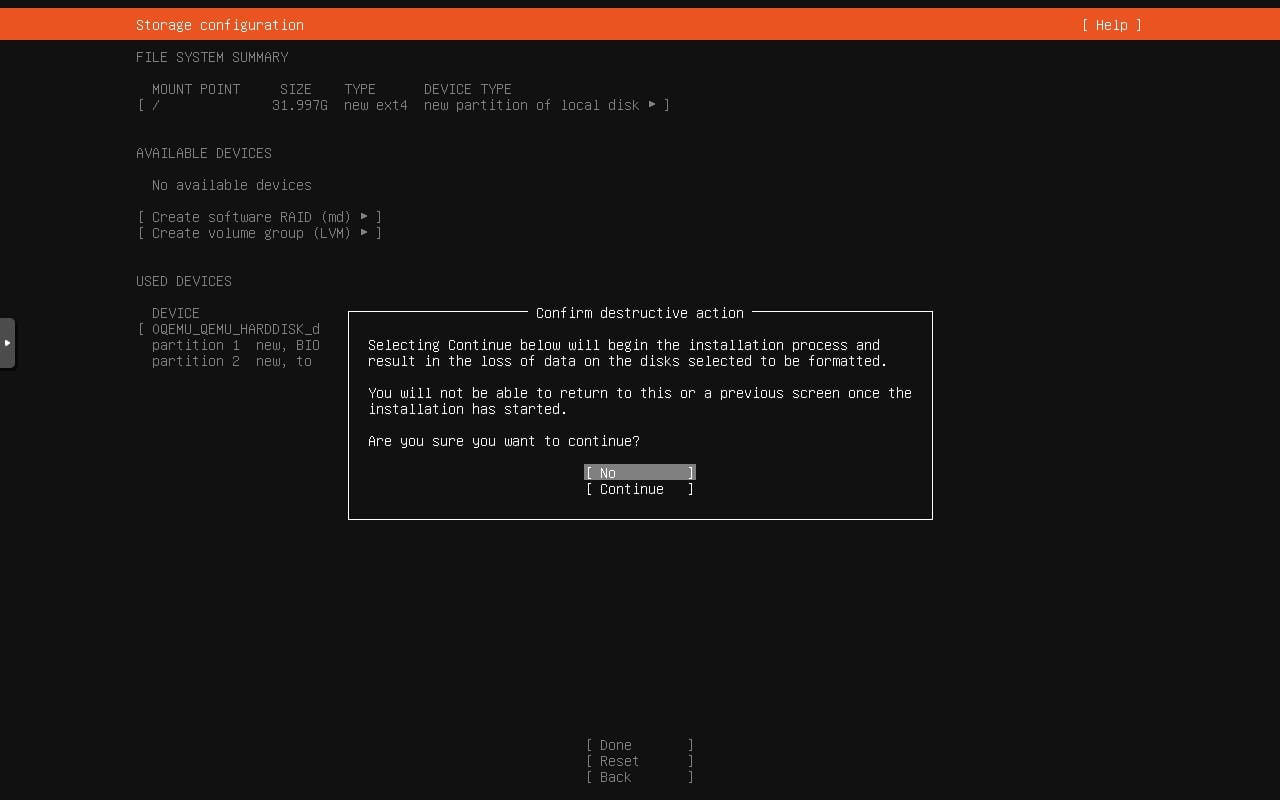
- Partition the disk (use automatic settings unless you need custom partitions).
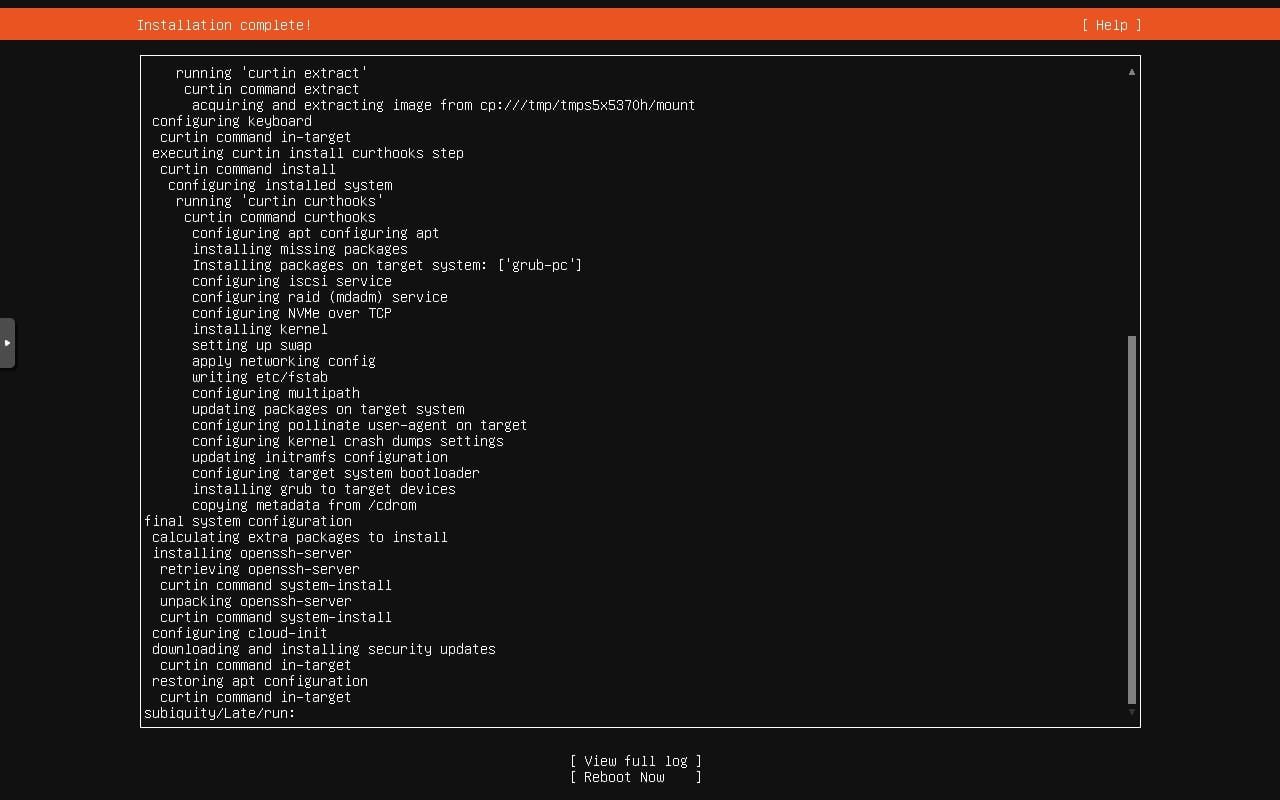
Initial install and configuration of Ubuntu
Once the installation is complete, reboot the VM.
Set up Networking
Networking is crucial for your VM. If you chose DHCP during installation, the VM should receive an IP address automatically. To configure a static IP:
Apply the changes:
sudo netplan apply
Update the file with your network details:
network:
  version: 2
  ethernets:
    ens18:
      addresses:
        - 192.168.1.100/24
      gateway4: 192.168.1.1
      nameservers:
        addresses: [8.8.8.8, 8.8.4.4]
Edit the network configuration file in Ubuntu:
sudo nano /etc/netplan/00-installer-config.yaml
Step 6: Test Network Connectivity
Verify that the VM can access the network:
Test connectivity with a ping:
ping google.com
Check the IP address:
ip addr
If everything is working, you're connected!
Post-Installation Configuration
To enhance your VM's performance and manageability, install the Qemu Guest Agent:
Enable and start the service:
sudo systemctl enable qemu-guest-agent
sudo systemctl start qemu-guest-agent
Install the agent:
sudo apt install qemu-guest-agent
Update your package list:
sudo apt update
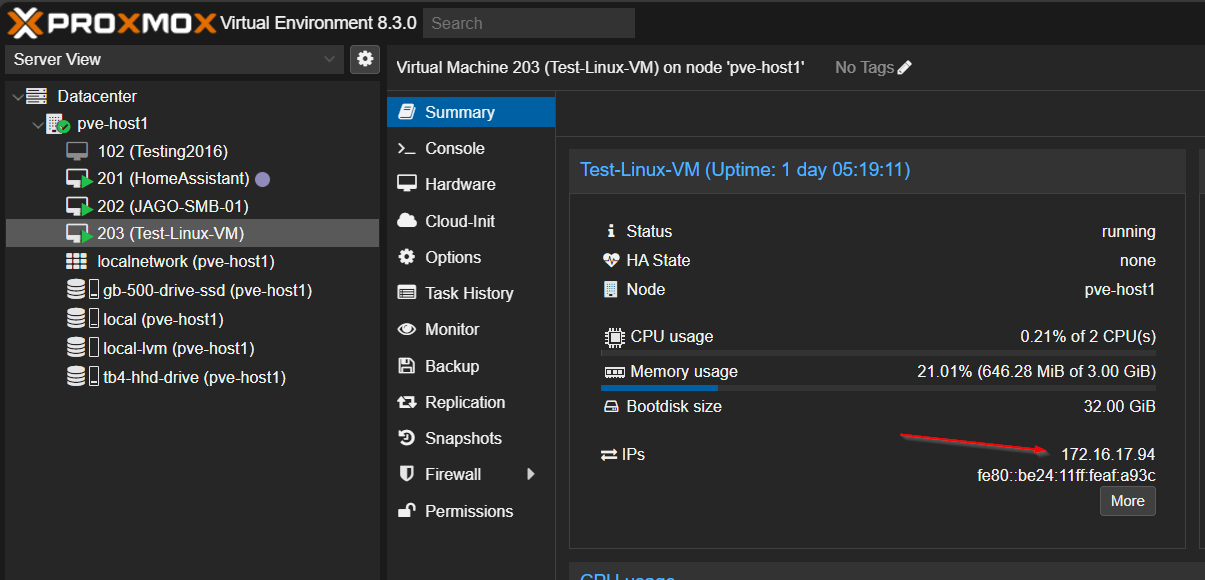
Now that the agent is installed on the VM, you will now be able to boot the VM from the Proxmox portal.
To confirm that the agent has been installed correctly, you will now be able to see the VM's IP address on the VM summary screen.
ssh <username>@ip_address_of_vmsudo apt update
sudo apt upgrade -yYou will be asked to enter your password to complete these SUDO commands.
Closing Thoughts
Congratulations! You’ve successfully created an Ubuntu 20.04 server VM on Proxmox VE. With this setup, you have a flexible, isolated environment to test, develop, and deploy your projects. Proxmox VE makes it easy to manage virtual machines, allowing you to experiment and innovate. Whether exploring Linux for the first time or setting up a robust server environment, this guide equips you with the foundational knowledge to get started. Remember to update your system and explore Proxmox's advanced features for more excellent capabilities.
Suggested Projects for Your New Ubuntu VM
- LAMP Server: Create a LAMP ( Linux, Apache, MySQL, PHP) server to run your websites.
- File Server: Configure Samba or NFS to create a file-sharing system for your home or office.
- Home Automation Hub: Set up Home Assistant to manage IoT devices.
- Game Server: Host a multiplayer game server for Minecraft or other popular games.
- Penetration Testing Lab: Install tools like Metasploit or Kali Linux for cybersecurity testing.
- Media Server: Set up Plex or Jellyfin to stream your favourite media to devices in your home.
- VPN Server: Install OpenVPN or WireGuard for secure remote access to your network.
- Learning Platform: Install Moodle or another LMS (Learning Management System) to create a teaching environment.
These projects will help you make the most of your new VM and deepen your understanding of Ubuntu and Proxmox. Happy building!
I will be building these projects in the coming blogs.
Go to my Proxmox page to see all the above tutorials.

Proxmox Tutorials
FAQs About Proxmox
1. What is Proxmox VE?
Proxmox VE is an open-source platform for managing VMs and containers, ideal for testing, development, and production environments.
2. Can I use Proxmox for free?
Yes, Proxmox is free to use, but a subscription is recommended for enterprise support.
3. Is it possible to run Proxmox on older hardware?
Yes, but ensure your hardware meets the minimum requirements for optimal performance.
4. How secure is Proxmox?
Proxmox is secure if properly configured. Regular updates and secure configurations enhance its safety.
FAQs About JimGogarty.com
1. What topics does Jim Gogarty cover?
Jim Gogarty specialises in IT, cybersecurity, and virtualisation, with a focus on platforms like Proxmox, VMware, and cloud solutions.
2. How can I contact Jim Gogarty?
Visit jimgogarty.com for contact details and to explore technical insights.
3. Does Jim Gogarty offer consulting services?
Yes! Jim offers IT and cybersecurity consulting. Reach out via the website for more information.
That’s it! You've successfully created an Ubuntu 20.04 server VM on Proxmox VE. Now, you can use your VM for testing, development, or any other projects. Stay tuned for more tips and guides on jimgogarty.com.